Ever experienced shakes in your Ford F-150 when idling? It’s common for Ford owners to have experienced Ford F150 idle problems, including myself. From worn transmission mounts to bad CV joints, the causes are varied.
But fear not, I’ve found fixes that have worked for me and others, which will be shared in this article. Keep reading for the solutions.
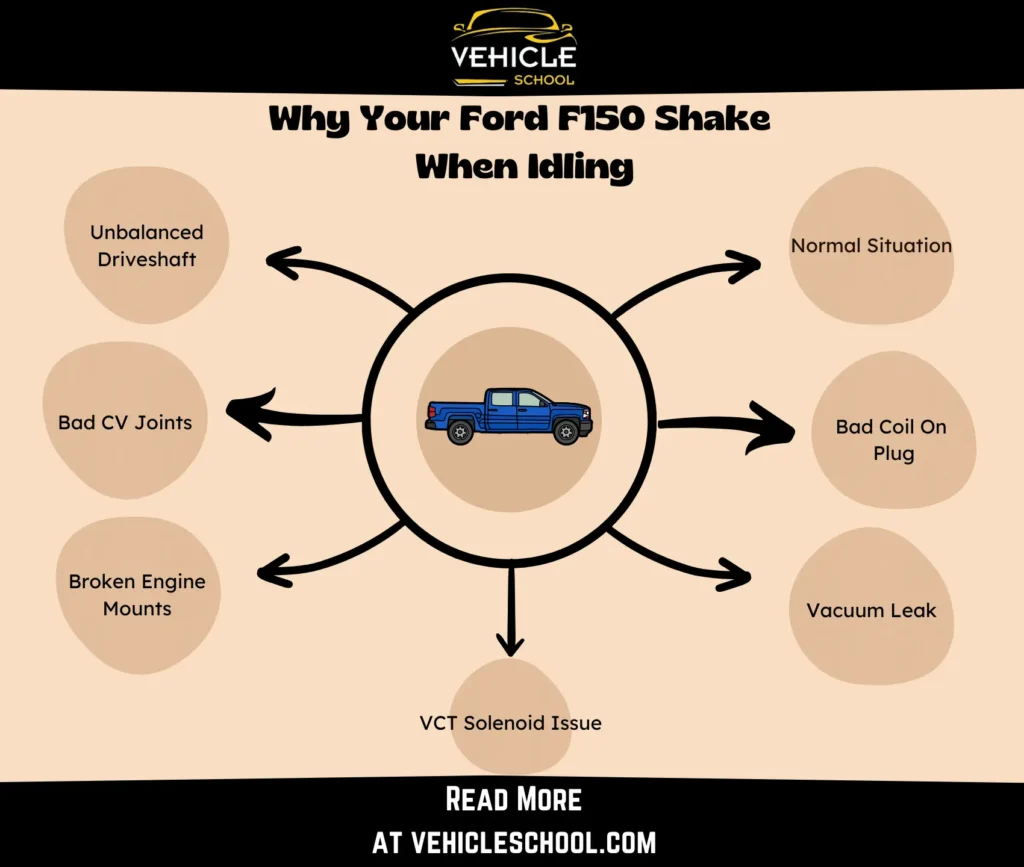
Why Is Your Ford F150 Shaking When Idling?
If your Ford F150 shakes when idling, it could be the computer adjusting power. If it keeps shaking, there might be issues like a bad coil, a vacuum leak, or unbalanced parts. You can fix it by changing the ignition part, fixing air leaks, balancing parts, swapping a certain axle, carefully replacing worn-out supports, and changing the engine mounts.
Let’s understand why you might be dealing with all these shudders first.
1. Normal Situation
Periodic, brief sputtering in the 3.5 EcoBoost engines during idle is a normal result of natural power fluctuations.
These shakes are usually very slight, but still noticeable. The ECU usually adjusts everything using sensors, ensuring a smooth correction in a second.
2. Bad Coil On Plug
A COP malfunction disrupts cylinder firing, causing idle shaking. This issue commonly arises due to wear, heat, or electrical problems that compromise the coil’s ability to consistently ignite the air-fuel mixture.
Furthermore, damaged cylinders can exacerbate the problem. If this is the case, you’ll also notice your F150 jerking when accelerating.
3. Vacuum Leak
A vacuum leak introduces excess air during combustion, disrupting the air-fuel mixture and causing idle shaking.
Leaks typically result from deteriorated hoses, gaskets, or seals within the intake system. A good giveaway of this being a reason for the issue is a check engine light.
4. Faulty Or Unbalanced Driveshaft
A defective or unbalanced driveshaft induces noticeable idle shaking.
This can result from wear and tear, damage, or poor manufacturing, leading to an imbalance that becomes apparent when the engine is idling.
5. Bad CV Joints
Irregular rotational movements cause idle shaking and often result from wear and tear on Constant Velocity (CV) joints.
Lack of lubrication, damaged boots, or general deterioration can lead to CV joint issues.
6. Worn Out Or Broken Engine Mounts
Engine mount and transmission issues arise from wear over time.
Continuous exposure to engine vibrations, temperature fluctuations, and general aging can weaken the mounts, diminishing their ability to support the engine at idle.
7. VCT Solenoid Issue
When Variable Camshaft Timing (VCT) solenoids go haywire, causing rough idling and serious shaking, it’s often due to issues with oil flow.
Over time, gunk and debris can build up, messing with the solenoid’s performance and affecting camshaft timing.
How To Fix F150 Vibration at Idle?
Usually, engine issues tend to cause this less often, so you shouldn’t have to go for an expensive repair right away.
Try to replace the smaller parts I mentioned first, and always remember to follow safety precautions.
1. Replacing COP (Ignition Coil)
Here are the steps to replace the coil on a 5.4L F150 engine. But this process is not only for fixing the 5.4 Triton shaking at idle, but it also applies to F150s with other engines, such as the 3.5 EcoBoost, which have the vibration problem as well.
If you’ve got a different engine, the wire and hose placements might differ, but the process is still overall the same.
- Find and unplug the old ignition coil.
- Use a seven-millimeter socket to ditch the securing bolt.
- Yank out the old ignition coil.
- Clear debris around the spark plug hole.
- Optionally, smear some silicone paste on the new ignition coil.
- Slide in the new ignition coil and press down to lock it in.
- Lock it down with the bolt using a seven-millimeter socket.
- Hook up the ignition coil connector.
- Do the same for the other ignition coils on the rest of the cylinders.
- Double-check all connections for any misfires.
- Take it for a spin to make sure it’s running smoothly after the swap.
2. Fix The Vacuum Leak
- Grab these tools: a mirror on a stick, a ~3/8 hose, zip ties, and a small pipe.
- Find the leak using a mirror and flashlight. Look around the hoses behind the intake manifold.
- Make some space by gently prying on the fuel rail.
- Stick the ~3/8 hose onto the leaking spot, maybe using a pry tool.
- Take your time wedging the hose onto the sticking-out tube—this might take around twenty minutes.
- Secure the female acceptor piece to the metal tube using zip ties.
- Check and double-check to make sure everything’s snug. Add more zip ties if needed.
- Fire up the engine and listen for any hissing or weird sounds.
- If there are still leaks, tweak the connections.
- Then one last look to be sure all’s good and leak-free.
3. Rebalance The Driveshaft
- Check U-joints for free movement without binding.
- Look for welded-on weights on the driveshaft for balance.
- Add or rebalance weights if any are missing.
- Note multiple bolt holes on the rear end pinion flange for adjustments.
- Rotate and align the driveshaft using bolt holes to minimize vibration.
- Try using a hose clamp to find imbalances.
- Pop the balanced and aligned driveshaft back into the vehicle.
- See if your truck still shakes on idle.
4. Swap The CV Axle
The CV Axle is what the joints are on; if one goes bad, you’ll have to replace the entire axle. I’ve only replaced the Driver’s Side CV Axle of the 2009-2014 F150 for such an issue.
However, steps should be similar for newer models, irrespective of the side of the CV Axle.
- Remove the wheel to get to the components.
- Disconnect brake components – caliper, rotor, ABS wire, and brake hose.
- Unbolt tie rod and upper ball joint for knuckle freedom.
- Take off the vacuum hub – unbolt and tap off gently with a pry bar.
- Pry out the CV axle from the bearing and differential.
- If necessary, swap out the axle seal and grease up the new CV axle.
- Install the new CV axle; slide it in, align the splines, and secure it.
- Reconnect the vacuum hub using 8-mm bolts.
- Put things back together: upper ball joint, tie rod, brake stuff.
- Temporarily secure the rotor with a lug nut.
- Torque up the bolts – caliper, tie rod, and axle nut.
- Reconnect the ABS wire, making sure it’s secured.
- Finish up assembly: wheel on, lug nuts hand-tightened, then torque them in a cross pattern.
- Test drive to make sure all’s good.
5. Replace Engine Mounts
You’ll have to be especially careful with this one since you’ll be working with the engine. I’d suggest doing this with a visual guide like the one given below and your specific F150 model manual in hand.
I’ll give you a summary of what the process is like:
- Disconnect the battery.
- Remove the starter, dipstick tube, and throttle body assembly.
- Lift the front of the oil pan with a jack.
- Remove the nuts securing the lower engine mount.
- Remove the fan shroud.
- Replace old engine mounts with new ones.
- Reinstall the starter, dipstick tube, and throttle body assembly.
- Lower the engine and reconnect the battery.
- Start the truck and perform forward and reverse movements.
- Check for leaks or issues.
There are a lot of extra details involved, but these are the main steps you’ll need to follow.
6. Change The VCT Solenoid
- Locate the VCT solenoid behind the oil fill on the passenger side of the motor.
- Remove the plug and break the seal using a screwdriver and hammer.
- Unscrew the solenoid using a T27 Torx head.
- Carefully pull out the old solenoid, avoiding any drops into the engine.
- Install the new solenoid securely.
- Tighten the screw with a T27 Torx head.
- Secure the gasket using a 15-mm socket.
- Start the engine to check if you still get shaking on idle.
Final Thoughts
Your F150 will idle smoothly, and you can enjoy rattle-free rides when you’ve performed the fixes I shared above.
That’s right—no more feeling like something is scuttling around deep in your truck.
So, what’re you waiting for? Try those fixes, and take your truck out for a tranquil and peaceful drive.