As a Ford F150 owner, the thrill of acceleration is unmatched, until the moment the check engine light starts flashing. I’ve been there, and it’s a gut-wrenching sensation.
It’s not something that happens often, but when it does, it’s a clear sign of trouble under the hood. Ignoring it will lead to bigger expenses later on.
In this post, I’ll share insights gleaned from my encounters and research on why your Ford F150’s check engine light might flash during acceleration, to help you handle the situation with ease.
Why Does Ford F150 Check Engine Light Flash When Accelerating?
A flashing check engine light in your Ford F150 while accelerating signals to engine misfire. This can happen due to ignition issues, damaged wires, cylinder misfires, a faulty catalytic converter, or water accumulation in the CAC. You’ll need to replace any damaged components and drain water from the CAC to resolve this issue.
Let’s talk about the root causes in more detail first:
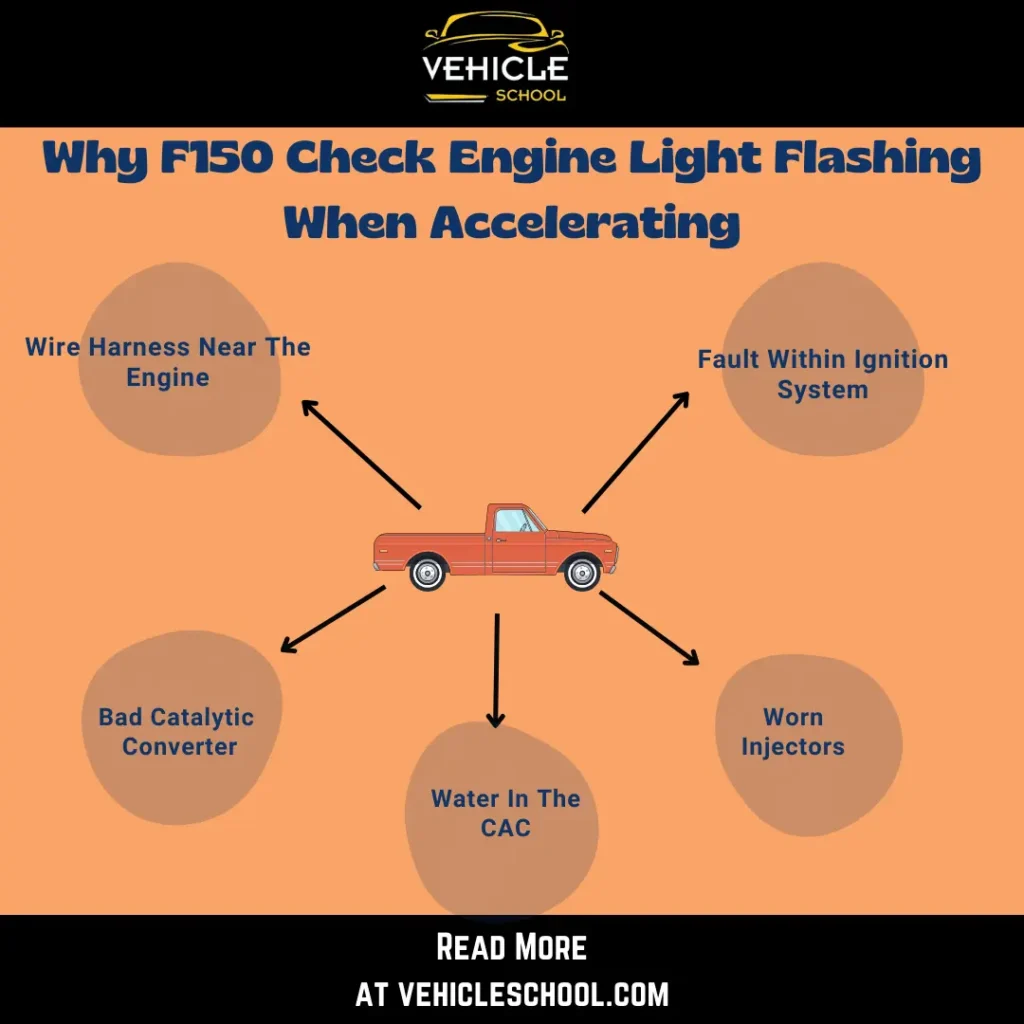
1. Fault Within Ignition System
The ignition system starts the engine by creating a spark.
In some F150 variants, usually F150 EcoBoosts, the parts responsible for this spark, such as spark plugs and ignition coils, can wear out over time.
This wear and tear, especially in demanding engines, can lead to misfires.
Misfires trigger the check engine light as the onboard computer senses a deviation from the engine’s normal performance.
2. Damaged Wire/Wire Harness Near the Engine
The engine has lots of wires connecting different parts.
If these wires get damaged due to heat, rubbing, or a bump, it can mess up how the parts communicate with each other.
Even worse, sometimes critters end up chewing through the wires, which has already happened to a couple of F150 users.
Accelerating can stress these damaged wires even more.
When communication between engine components is compromised, the check engine light is triggered to alert you to a potential problem.
3. Fuel Injectors Are Worn Out
When fuel injectors become dirty or worn out, they often lead to cylinder misfires, disrupting the combustion process’s efficiency.
The check engine light comes on to signal that the engine isn’t running as smoothly as it should.
If you notice your F150 jerking or shaking during acceleration, it’s a telltale sign of this issue.
4. Bad Catalytic Converter
The catalytic converter is important for cleaning up harmful emissions from the engine.
If it’s not working right, it can cause the check engine light to flash.
A faulty converter might let exhaust gases go back into the engine, causing misfires, especially when you’re accelerating.
The check engine light warns you that the emission control system needs attention.
5. Water In The CAC
The Charge Air Cooler (CAC) is part of the turbocharging system.
If water gets ingested into it, which often happens during rainy seasons, it can cause issues.
During acceleration, the turbocharger works harder, and if water is present in the CAC, it can disrupt the turbocharging process.
This can lead to misfires and a flashing check engine light.
How To Fix A Blinking Check Engine Light When Accelerating In F150?
There are a couple of things you can do to make your F150 stop flashing that engine light while you accelerate. Let’s go through all of the things you can do in detail.
1. Fix The Ignition System
This fix can help you out with a messed-up ignition system and also help with problems with the cylinders.
- Scan for ignition trouble codes and consult manuals.
- Inspect spark plugs and coils for wear, fouling, or deposits.
- Remove plugs and check, examine coils for damage.
- Disconnect the battery and clear the coil debris with compressed air.
- Unplug connectors; remove and replace coils/plugs.
- Apply anti-seize and dielectric grease as needed.
- Ensure tight bolts; replace if rounded (M5-0.8 x 25mm).
- Check wells for debris and clean. Reconnect and start the engine.
- Wipe off excess dielectric grease; optionally apply to battery terminals.
If you’ve never performed DIY repairs on your truck before, I’d suggest you watch this video first:
2. Clean And Fix Damaged Wires And Wire Harnesses
Follow these steps to fix messed-up wires:
- Check for TSBs on wiring issues.
- Remove engine covers and inspect wires for wear, discoloration, or damage.
- Examine connectors, focusing on the throttle body, engine mounts, and transmission connections.
- Clean corroded areas with an electrical contact cleaner and reconnect.
- Perform a dynamic inspection with an assistant simulating acceleration.
- Use an OBD-II scanner to retrieve error codes and monitor live data during simulated acceleration.
- Research error codes in the technical service manual.
- Gently wiggle suspect wires during engine operation to identify intermittent issues.
- Isolate and reinforce damaged areas with heat-shrink tubing or flexible conduit.
- For advanced users, consider soldering damaged wires with proper insulation and strain relief.
3. Replace The Injector
If replacing spark plugs from the earlier steps didn’t do anything, you might need to replace the fuel injector. Here’s what to do:
- Wear safety gear and disconnect the battery.
- Use a diagnostic tool to identify the specific cylinder with issues.
- Disconnect the fuel pump driver module and start the vehicle to release fuel pressure.
- Remove air intake plumbing, disconnect hoses and connectors, and clean around fuel injectors.
- Remove fuel rail bolts, lift the rail, and replace the faulty injector.
- Reinstall the fuel rail and reconnect all components.
- Reconnect the battery.
- Turn on the ignition to check for leaks.
- Reinstall the air intake and ensure all connections are secure.
- Start the vehicle and verify a successful replacement, see if the Check Engine Light still flashes while driving.
To make things easier take a peek at this video:
4. Replace A Bad Catalytic Converter
Like with all the other parts, it’s better to replace a catalytic converter rather than fixing it. Here’s how to do that:
- Lift and secure your vehicle safely on the jack stands.
- Disconnect the exhaust line and remove screws holding it to the catalytic converter.
- Take off the metal crosspiece, disconnect the O2 sensors, and remove the driveshaft.
- Unscrew and remove the gearbox mount.
- Remove the nuts connecting the catalytic converter to the exhaust manifold.
- Disconnect the O2 sensor connectors and extract the old catalytic converter.
- Place a new catalytic converter and install the new oxygen sensors.
- Temporarily tighten the nuts when installing the new catalytic converters on the exhaust manifold.
- Reinstall the gearbox mount, reconnect the O2 sensors, and secure the driveshaft.
- Replace the metal crosspiece, coat joints with exhaust sealant, and tighten all screws.
- Lower the vehicle and check for leaks or unusual sounds.
- Ensure all components are securely tightened.
5. Fix The CAC
| Disclaimer: This is a community-endorsed fix, not something I’ve seen Ford mention. While I’ve come across plenty of users who have tried this and solved issues, you should still do it at your own risk. |
- Gather a drill, drill bits, gloves, and safety glasses.
- Find the Charge Air Cooler near the front of your Ford EcoBoost.
- Pick a lower location on the CAC to make a weep hole, avoiding vital parts.
- Use a pencil or marker to mark the chosen location.
- Insert an appropriate drill bit into the drill.
- Carefully drill at the marked spot, applying even pressure.
- Let the water inside spill out.
- Inspect the weep hole for cleanliness and use a file to smooth edges if needed.
- Start the vehicle, observe airflow, and ensure the modification works.
- Monitor your vehicle’s performance and address any issues promptly. See if the light still comes on.
- Keep a record of the weep hole installation details, including date and location.
Final Thoughts
These fixes should stop the “Check Engine Light” from constantly flashing at you.
It’s kind of a rare issue, but I’d suggest you still get your F150 checked up at a mechanic’s every once in a while, just in case.
That’s all for this post. Good luck with the handiwork and drive safe.