AdvanceTrac is Ford’s proprietary Electronic Stability Control system that helps prevent skidding or losing control on the road.
But what does the service AdvanceTrac on a Ford F150 mean? It means there’s likely a problem with the AdvanceTrac system that needs checking or fixing to make sure everything stays safe and steady while you’re driving.
I’ll go through all the ways you can get rid of this text in this guide. Keep reading to find out more.
What Causes Service AdvanceTrac Warning In Your Ford F150?
Since this issue is so common (I’ve seen tons of forum and Reddit posts about it), I’ll go through the root causes so you know what parts to keep an eye on.
Here’s what causes the “Service AdvanceTrac” warning in the Ford F150:
1. Bad Brake Pedal Sensor
The brake pedal sensor in a Ford F150 can get rusty and start sticking due to moisture buildup inside the truck, leading to corrosion and malfunction.
This causes it to incorrectly sense when the brake pedal is pressed, sending the wrong signals to the truck’s control modules.
Most of the time, it’ll keep telling the truck that the break’s on when you’re driving.
As a result, systems like AdvanceTrac, Hill Start Assist, and Traction Control, which need accurate brake pedal information, show error messages telling you to get your truck checked.
More symptoms include your cruise control not working, and the engine acting fluttery despite there being no Check Engine lights.
2. Throttle Body Issue
A throttle body can get dirty or malfunction because carbon deposits build up over time.
That can mess with the engine’s airflow, causing it to struggle with the right air-fuel mix, leading to erratic engine behavior and possibly putting the truck in limp mode, which limits power to prevent further damage.
This can also mess with systems like AdvanceTrac, which relies on accurate engine inputs for stability.
So, when the throttle body acts up, it triggers warnings like “Service AdvanceTrac,” signaling it’s time to sort out the throttle body issue to get the truck running smoothly again.
3. Faulty ABS Wheel Speed Sensor
The ABS wheel speed sensor in a Ford F150 can get damaged since it’s right near the wheel where it gets hit by all sorts of stuff from the road such as gravel, mud etc.
AdvanceTrac integrates ABS with traction and stability control for better vehicle stability.
Due to problems in ABS, it can misinterpret wheel speed readings needed for AdvanceTrac, and thus the service advancetrac warning shows up.
Faulty ABS also triggers a bunch of warning messages like “Drive Mode Not Available” “Check Brake System” and “Hill Start Assist Not Available”.
In this case, you might also start seeing DTCs like U0415 and U0422, along with the ABS Warning Light.
4. Steering Rack Problem
When the Electronic Steering Rack/Pinion in a Ford F150 breaks and has sensor failures, it can mess with how other systems, like AdvanceTrac stability control, work.
AdvanceTrac needs data from the steering system (such as steering angles) to spot and handle skids or traction loss.
So, if the steering rack isn’t working right, AdvanceTrac can’t do its job, which sets off the “Service AdvanceTrac” alert.
5. Issue With The Connector Near The Emergency Brake
Service AdvanceTrac and Hill Descent Control Fault alerts can also happen due to a loose or faulty connector near the emergency brake bracket.
This connector powers important systems like the ignition switch, which is key for traction control and stability features such as AdvanceTrac.
When the connector wobbles or disconnects, it messes with how these systems talk to each other, causing them to wrongly detect faults.
This can set off the Service AdvanceTrac alert and also mess with Hill Descent Control, making related fault notifications pop up.
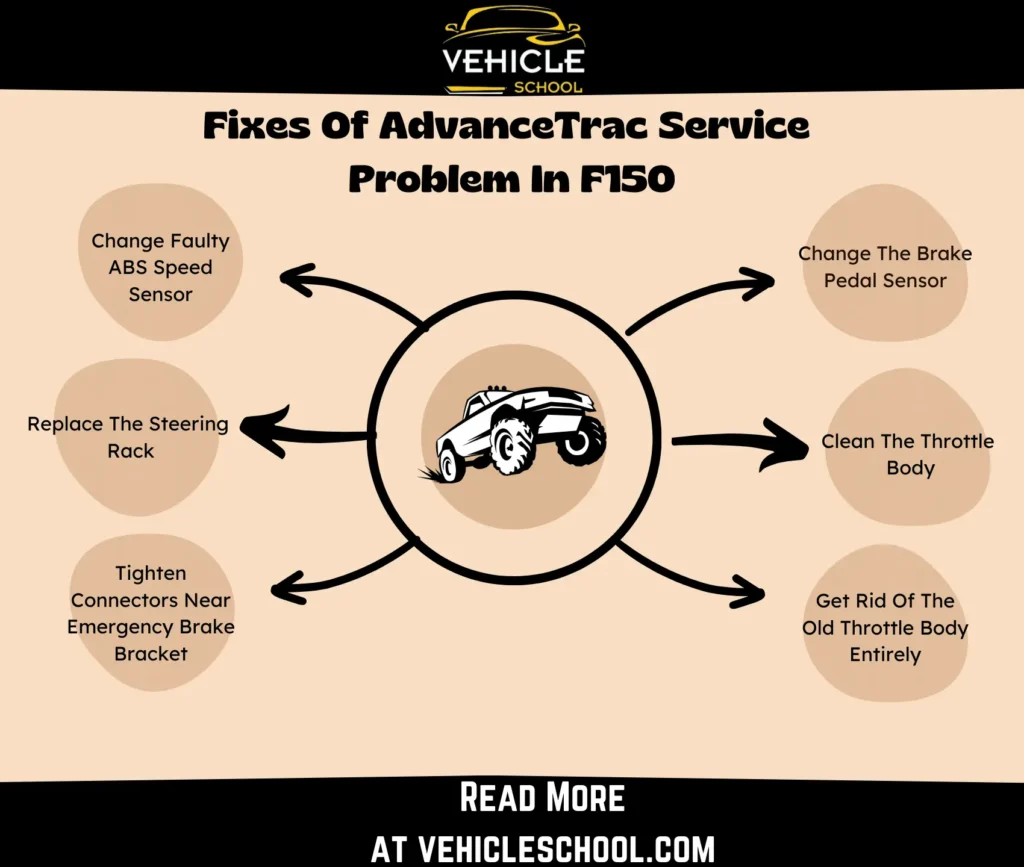
How To Fix Service AdvanceTrac Problem In F150?
Here are a couple of tips to get the Service AdvanceTrac warning taken care of:
1. Change The Brake Pedal Sensor/Switch
This is one of the cheaper fixes, you can get a good sensor for less than $35 at AutoZone.
Not sure how to do it? I can tell you from experience that it’s easier than it seems. Here’s how:
- Find the brake pedal position switch on top of the brake pedal arm.
- Disconnect the electrical connector by pressing the metal clip and pulling it off.
- Remove the metal clip at the base of the switch’s bracket.
- Twist off the switch itself (direction may vary).
- Carefully pull out the switch, avoiding damage to the switch rod.
- Put the metal clip back onto the bracket.
- Reset the switch by pulling the arm out.
- Press the brake pedal down a bit and hold it.
- Put the switch back into place and turn it counterclockwise to lock it.
- Release the brake pedal to let it push the switch arm back in.
- Reconnect the electrical connector.
- Test the brake lights by turning on the car’s ignition and checking if they work as expected.
2. Clean The Throttle Body
This might, or might not, work. It’s also possible that your throttle body’s too far gone to work decently again, but a clean doesn’t cost much, so I’d say it’s worth a try.
| Note: These steps are for a 4.6L or 5.4L modular engine, but they’re very likely to work with other F150 engines as well. |
- Remove the shroud cover and cold air intake tube with a 10mm wrench or socket.
- Loosen the hose clamp on the intake tube.
- Optionally, disconnect necessary wiring harnesses and lines for easier access.
- Prop open the butterfly valve with a screwdriver.
- Spray carburetor cleaner into the throttle body.
- Wipe down the interior with an oil rag or cloth. Be gentle to avoid damage.
- Ensure thorough cleaning of the butterfly valve and its seat.
- Allow the cleaner to evaporate before reassembly.
- Reassemble components in reverse order.
- Tighten any loosened clamps or connections.
- Ensure everything is secure before starting the engine.
- Let the throttle body air out after reassembly.
- Wait 30–45 minutes before starting the engine for proper evaporation.
Once you’re done with all that, give the truck a test drive. You might get some initial roughness in engine performance, but the Service AdvanceTrac text should be gone.
3. Get Rid Of The Old Throttle Body Entirely
If cleaning is a no-go, you might need to resort to this.
- Loosen and remove the intake tubing clamps.
- Pull off the intake tubing.
- Undo bolts holding the intake assembly.
- Remove the wire clip for the throttle body.
- Unlock and remove the plastic hose line.
- Take out the bolts holding the throttle body.
- Unplug the electrical connector.
- Lift the throttle body and unplug the back connector.
- Clean around the throttle body.
- Inspect the throttle body gasket, replace it if flat or brittle.
- Install a new throttle body and align it properly.
- Reconnect and secure the electrical connector.
- Tighten the throttle body bolts evenly.
- Torque bolts to 89 inch-pounds (10.0557 Newton-Meters) in a cross pattern.
- Reconnect hoses, wires, and intake assembly – ensure tight connections.
Doing a full replacement is more hands-on than cleaning, so if you need help, you can refer to this video by TRQ:
4. Change Faulty ABS Speed Sensor
To diagnose faulty ABS wheel speed sensors, use a diagnostic scanner. It pinpoints the problematic sensor—front or rear, left or right. Then, visually inspect that sensor for damage or wear.
- Park the truck and engage the parking brake.
- Turn off the engine and disconnect the battery.
- Use a jack to lift the vehicle and secure it.
- Loosen the lug nuts and remove the wheel.
- Remove covers obstructing sensor access.
- Unplug the electrical connector from the sensor.
- Remove bolts/screws securing the sensor.
- Pull out the old sensor from its position.
- Inspect and clean the mounting area.
- Install the new sensor and secure it.
- Plug in the electrical connector.
- Reinstall any removed covers/components.
- Put the wheel back on and tighten the lug nuts.
- Lower the vehicle and reconnect the battery.
- Test drive to ensure ABS function.
5. Replace The Steering Rack
Do it as a last resort if nothing works, it’s an expensive fix (it costs as much as $1500-$1800), so I’d recommend being extra careful with this one.
- Start by disconnecting the battery.
- Remove the old rack and pinion assembly, freeing up any attached lines.
- Make sure to shift the pressure sensor to the new pressure line.
- Get the new pressure line and rack and pinion assembly installed.
- Securely attach the tie rod ends and return line.
- Make sure all the mount bracket bolts and tie rod ends are snug.
- Finish it off with a front-end alignment.
- Give all connections and bolts a once-over to ensure they’re solid.
- Top off the power steering fluid.
- Hook the battery back up.
- Start up and test the steering and check for warning messages.
- Check the handling by doing test drives at low speeds.
That’s only the gist of the process, there are a ton of little details involved. To make sure everything goes smoothly, you have to follow along with a full guide from a manual. Here’s a video you can also use instead:
6. Tighten The Connectors Near Emergency Brake Bracket
- Locate the large wire harness plug near the emergency brake.
- Check the three connectors in the white box for security.
- Ensure the flimsy connector on the emergency brake is firm.
- Access the gray connectors behind the parking brake bracket.
- Squeeze and jiggle the wires to make sure they’re connected.
- Engage and disengage the parking brake to realign the connection.
- Reseat the plug securely by pulling the gray release forward, reinserting the plug, and pushing the release rearward to lock it.
How To Reset Service AdvanceTrac?
Here’s how to reset the AdvanceTrac light:
- Begin by disconnecting the negative terminal of your battery.
- Then, give your brake pedal a few good pushes to make sure any lingering power is gone.
- Reconnect the battery afterward.
This trick might also reset other settings in your ride, like your radio or clock.
FAQ
Is it OK to drive your Ford F150 with service AdvanceTrac alert?
Yes, it’s okay to drive your Ford F150 with a Service AdvanceTrac alert, but it’s not ideal. You can drive short distances to reach a safe location, but it’s best to get the system checked and repaired soon for safety.
How much will it cost to repair the “Service AdvanceTrac” warning?
You’d at least need to put in $30 if it’s nothing serious, although if the issue is something with the Steering Rack, you’re looking at spending at least somewhere around $800.
How to turn off a Ford AdvanceTrac?
You can turn off the AdvanceTrac in your Ford F150 by holding the stability control button. Press it once to disable TCS while keeping ESC (AdvanceTrac) and RSC on. Alternatively, hold the button for 5 seconds while driving below 35 mph to deactivate TCS, ESC, and RSC altogether.
Final Thoughts
So, while the alert doesn’t point to your impending doom, it’s still pretty important.
Don’t let it linger on your screen. AdvanceTrac is a key part of what makes up the F150’s driving experience.
So, don’t miss out on what made it popular in the first place, get it fixed ASAP.