If your F150 hums when slowing down it’s probably due to worn wheel bearings or issues with the actuator system. You can fix it by replacing the wheel bearings. For actuator problems, replace faulty parts like vacuum lines, check valves, or the solenoid.
I’ve compiled a full guide on how to do all those! Keep scrolling to get all the details.
Why Is Your F150 Making A Humming Noise When Slowing Down?
Let me first walk you through the reasons your truck is making such weird noises.
1. Bad Wheel Bearings
The F150 may hum when slowing down due to worn-out wheel bearings.
These bearings, supporting the vehicle’s weight, wear down over time, causing increased friction and humming sounds, especially during deceleration.
The load shift on the bearings amplifies the noise.
2. Actuator Problem
F150s can hum when slowing down due to issues with the actuator system.
A messed-up solenoid, check valve, or faulty vacuum lines disrupt proper disconnection, causing resistance and noise when easing off the gas.
The humming comes from stressed components struggling with the changing load.
How To Fix The Humming Noise F150 Makes When Decelerating?
Here are a couple of things you can do to fix the issue:
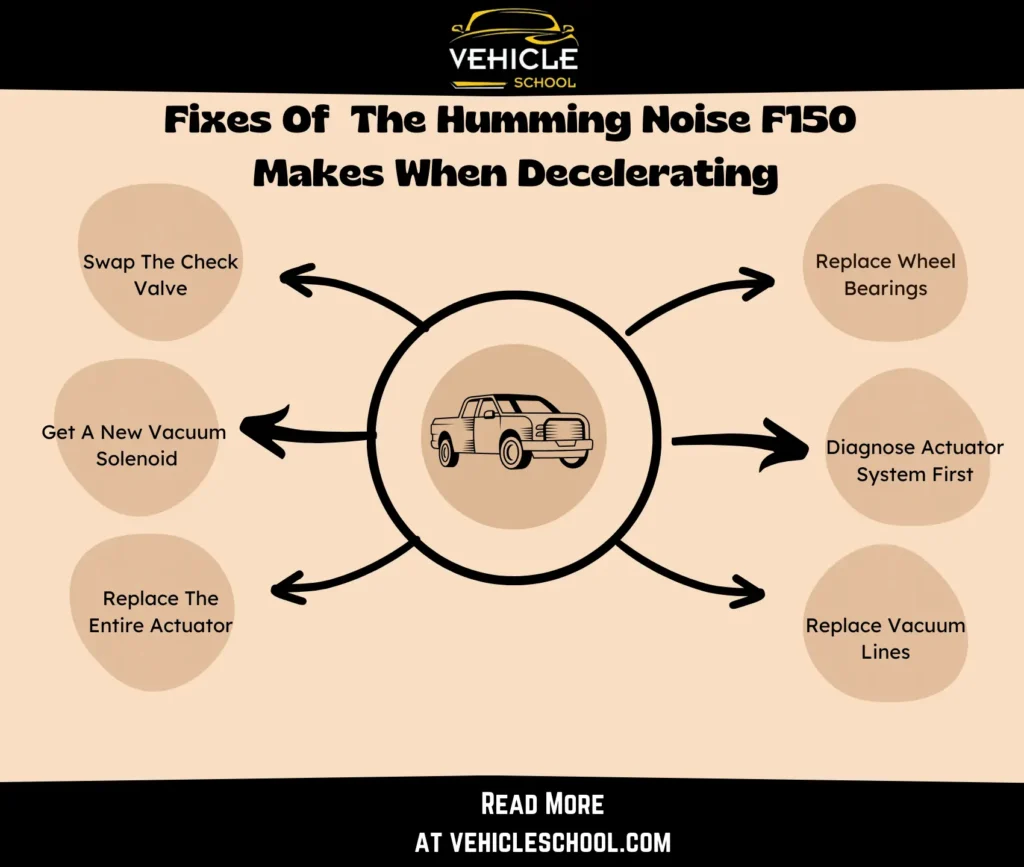
1. Replace Wheel Bearings
- Grab your tools and new parts.
- Remove the wheel and caliper.
- Adjust or release the parking brake.
- Ditch the rotor and pull the axle.
- Pry out clips and swap wheel bearings.
- Add a new axle seal if needed.
- Pop the axle back and secure it with clips.
- Pour in the right lube.
- Grease up parking brake parts.
- Reattach the rotor and caliper.
- Adjust the parking brake if needed.
- Put the wheel on and tighten the lug nuts on your F150.
- Test your ride.
2. Diagnose Actuator System First
You’ll need to test the whole IWE system to see which one of the above problems it is. Get a vacuum pump; you should be able to find one at $25, and then proceed with the below steps.
- Move the tire without vacuuming to check the CV axle.
- Apply a vacuum to disengage the IWE.
- Check if the wheel spins freely without the CV axle; watch the vacuum gauge.
- Release vacuum and confirm the wheel engages with the IWE.
- Disconnect vacuum lines and attach a tube to the firewall port.
- Spin the wheel, ensuring it turns without CV axle engagement, and check the lines.
- Bleed off vacuum and verify IWE engagement, checking the CV axle.
- Inspect the solenoid’s vent cap and clean it if needed.
- Check the supply line from the booster to the vacuum reservoir.
Now, based on the issues you see, you can follow the next few fixes to take care of them.
3. Replace Vacuum Lines
- Get your tools: plugs, vacuum pump, replacement lines, and a trim tool.
- Seal tire lines, preventing air leaks.
- Apply vacuum near the solenoid and watch for a pressure drop.
- Check the lines for damage, especially the chewed ends.
- Disconnect upper line, 2-min pressure test at 25 INB.
- Order replacements with specific part numbers.
- Plan the new route from solenoid to actuators.
- Trim the old lines, starting from the middle.
- Install new lines and secure connections as planned.
- Check all connections and remove old materials.
- Test the four-wheel drive to ensure proper function.
4. Swap The Check Valve
- Identify the check valve and disconnect the vacuum lines on each side.
- Gently remove the old check valve, then grab the new check valve.
- Plug the clear end into the designated hose securely.
- Position the new check valve in place and align it correctly.
5. Get A New Vacuum Solenoid
- Find the vacuum solenoid and disconnect the vacuum lines.
- Slide out the old solenoid and grab the correct replacement.
- Securely slide the new solenoid into place.
- Reattach the vacuum lines and make sure they fit tightly.
- Confirm the new solenoid is securely in place and aligned.
- Test by engaging the four-wheel drive.
6. Replace The Entire Actuator
- Remove cap and loosen the nuts.
- Lift the car, use a stand, and remove the nuts.
- Pry off cap, remove the center nut.
- Unhook lines on part.
- Remove bolts and pull out parts.
- Slide the rod out, remove the part.
- Install new part, slide in rod, and tighten the bolts to 9 ft-lbs.
- Reconnect lines, put on center nut, and tighten to 20 ft.-lbs.
- Put back the cap, tie the rod end (tighten to 150 ft-lbs), and use a new pin.
- Put back the upper part or rod (align if using the rod method).
- Put the wheel back, hand-tighten nuts.
- Lower the truck and tighten nuts with tire tool.
I’ve tried to simplify this process here. If you’re confused about any part of it, you can try reading my article on actuator bypass process for F150.
Parting Thoughts
No one will blame your F150 for making some noise; it’s just a hum. But if it’s too noticeable, there’s definitely an issue.
So, explore the fixes I mentioned and get to work on your truck as soon as possible.