If your trailer lights aren’t working when plugged into the truck, chances are there’s a snag with the connectors, wiring, or maybe even blown fuses in the fuse box.
I’ve created this simple guide to get things sorted out.
How To Troubleshoot No Power To Trailer Plug Problem In Your F150?
Before we get to the more hands-on fixes, check the basics. You need to have the ignition on to get any power, so run the trailer lights with that to see if you’re having an issue.
After you’re done, try the following:
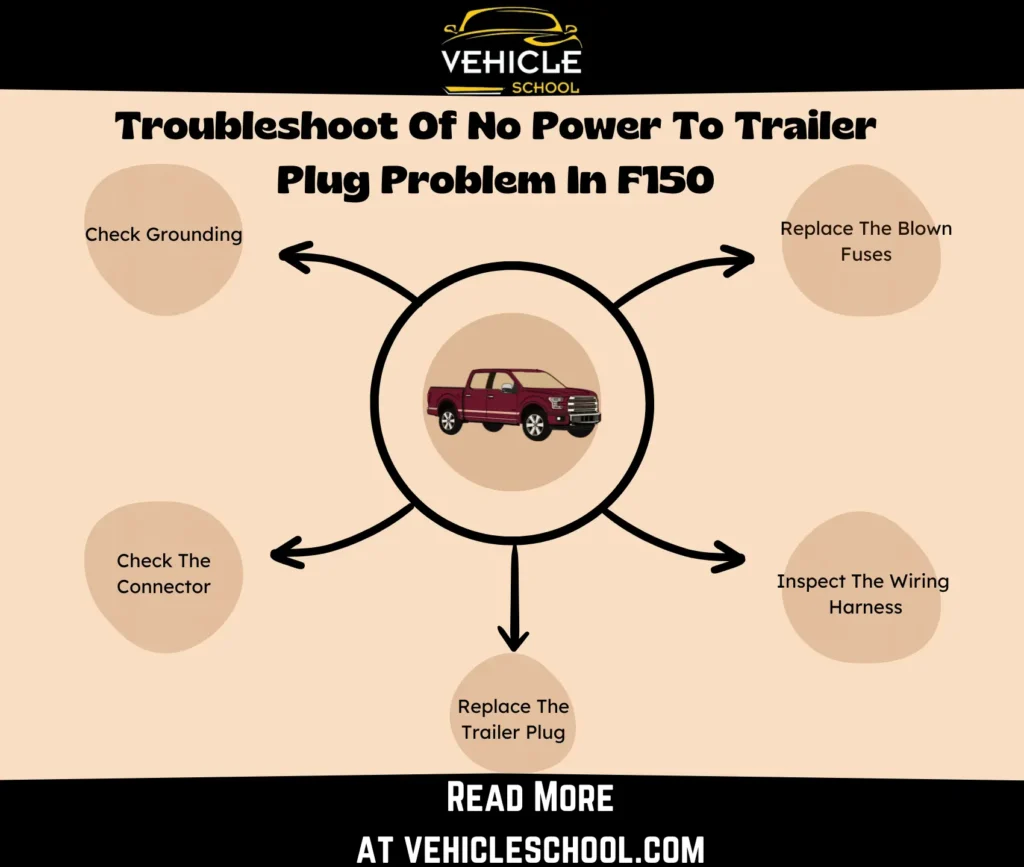
1. Replace The Blown Fuses
There are some fuses and relays in the front fuse box under the hood.
The ones I’m about to list might be faulty – you’ll have to check in with your manual as well to see if there are any related fuses you might need to check.
Keep in mind, in some models, these fuses might also be inside a different fuse box:
- Position 6: Trailer Tow Park Lamp Relay
- Position 31: 20A Fuse for Trailer Tow Park Lamp Relay
- Position 19: 30A (may vary) Upfitter 2
- Position 21: 30A (may vary) Trailer Tow Battery Charge Relay
- Position 9: TT Battery Charger Relay
Take a look at those for any blown fuses and replace them if needed. Also, remember to look at Fuse #91 and others while you’re at it. Blown fuses cause some common alerts like the trailer brake module fault and the trailer battery not charging f150.
2. Inspect The Wiring Harness
The wiring harness might be damaged, or it’s more likely that a technician “overdiagnosed” it.
If your F150 is old, they probably did that, by using mismatched connectors and wires from a different model, causing a lack of power to your trailer plug.
More often than not, when inexperienced techs are setting up a fifth-wheel trailer’s seven-pin connector in the truck bed, they might go for those connectors as a cheap fix.
But that can end up messing up the wires right at the back. It’s a terrible shortcut to doing things.
If something’s wrong, you’ll be able to find splicings from earlier repair work.
You can find the harness with the help of your wiring diagram – both the 7 Pin Connector and the 4 Pin Connector feed off of it. It goes all the way to the transmission.
To fix the problem with the 4 Pin Trailer Connector not working and the 7 Pin one having issues, just swap out the messed-up harness with a new one made for your truck’s year.
Double-check to see if the factory wire harness is inserted into the back of the bumper’s plugin.
3. Check Grounding
When trailer lights fail to function properly, it’s often due to poor grounding. This issue extends to your trailer plugs not receiving 12v power.
To fix this, ensure all wires are securely connected to the ground. Use a test light to check the quality of the ground connection. A faulty ground can also result in your F150’s rear running lights not working.
4. Check The Connector
There’s a connector over the spare tire you need to inspect.
On older models like the 2010 F150, it has a design issue where it starts to pop out slightly over time.
You just have to plug it back in properly.
5. Replace The Trailer Plug
If none of that works, you’ll have to go in for a full replacement. Here are the steps for both kinds of plugs:
Steps To Replace 7 Pin Plug
- Get a new 7-pin plug, wire cutters, connectors, and a heat gun.
- Find a good spot to work on your vehicle, reachable to the 7-pin plug.
- Remove the old plug by unscrewing or unclipping it and disconnecting the wires.
- Check for rust or damage on the wires and connectors.
- Prepare the new plug by stripping the wire ends.
- Match and connect the wires securely.
- Test connections by plugging in the new plug temporarily and turning on your lights.
- Attach the new plug firmly to your vehicle.
- Ensure the grounding wire is secure.
- Connect your trailer and check all lights.
- Tidy up loose wires and secure everything.
Steps To Replace 4 Pin Plugs
- Get a soldering iron, solder, shrink wrap tubing, wire strippers, a heat gun or lighter, and the new 4-pin trailer plug.
- Cut off the old plug, but leave some wire.
- Strip about 1/4 inch of insulation from the wires.
- Slide shrink-wrap tubing onto each wire.
- Match up the wires from the truck to the plug.
- Use solder to connect the wires securely.
- Slide the shrink wrap over the soldered connections.
- Use heat to shrink the tubing, sealing the connections.
- Test your trailer lights to make sure they work.
Last Words
With all that over with, your trailer plug should be powering trailers perfectly well.
Just be careful when working with the wiring harness, I’ve seen how deep it goes into the bottom of the truck. I’d suggest keeping that fix for the end.
Either way, good luck with getting power to the plug. These fixes work perfectly for F150 and other Ford trucks as well.


