Got issues with your Ford F150’s 4×4? I’ve got a couple of workarounds to help you out. I’ll throw in some steps for replacing the actuator too.
Because, let’s face it, a working 4×4 actuator is key for a smooth ride, improving traction and stability in all kinds of driving situations.
So without further ado, let’s get started.
Ford F150 4×4 Actuator Bypassing Process
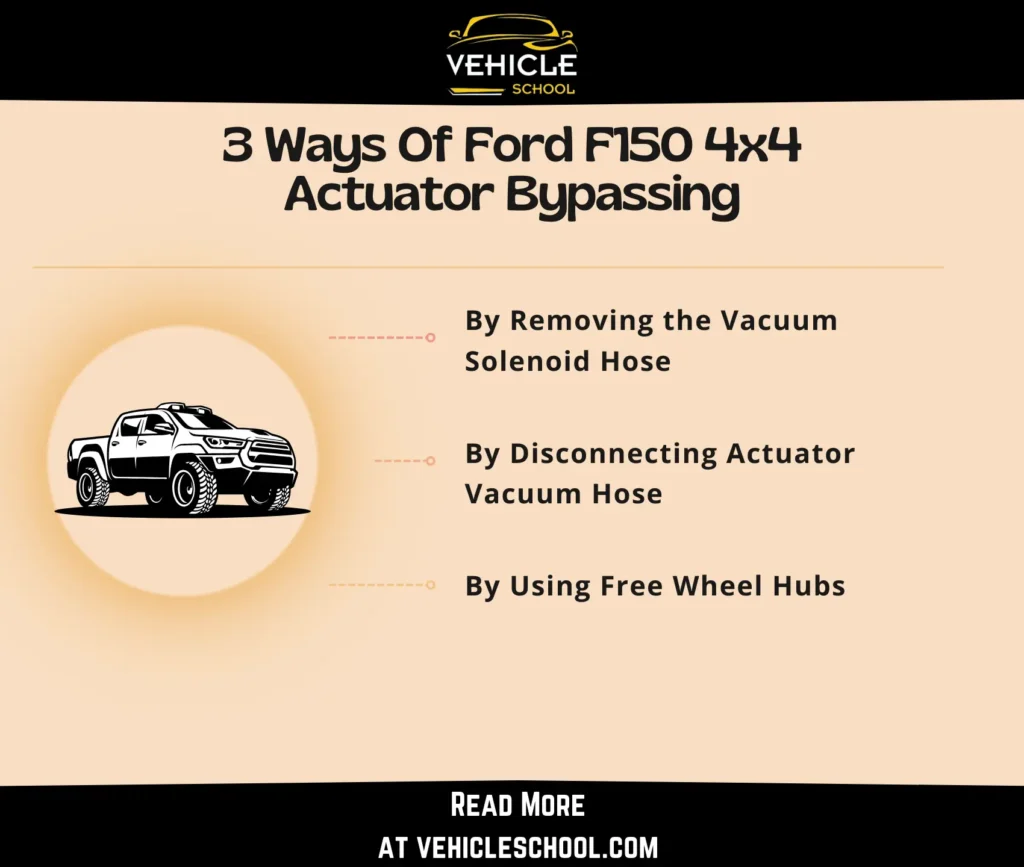
There are 3 ways to bypass the 4×4 actuator in your F-150:

1. By Removing the Vacuum Solenoid Hose
- Open your Ford F150 hood and find the vacuum solenoid valve.
- Identify two hoses—one to the IWE side and one to the engine intake side.
- Locate the hose with the check valve on the engine side.
- Disconnect both hoses; use pliers if needed.
- Plug hose ends to prevent debris.
- Secure the vacuum solenoid valve with plugs or bolts.
- Start the vehicle to test 4×4; IWE should engage.
2. By Disconnecting Actuator Vacuum Hose
- Find the IWE Hub Actuator on your Ford F150.
- Disconnect the larger nozzle’s vacuum hose to disable 4WD.
- Seal the open ends to block moisture and dirt.
- Confirm the gears are now locked for 4WD.
Note: Keep in mind that when reconnecting, you need to ensure a clean system.
3. By Using Free Wheel Hubs
- Lift and secure the vehicle.
- Remove the IWE hub and hoses.
- Install free-wheel hubs.
- Connect hoses to dummy posts.
- Add a solenoid valve in the engine area.
- Connect hoses: engine to valve, valve to dummy posts.
- Secure all connections.
- Lower and test 4WD engagement.
- To revert, disconnect hoses and reinstall IWE hub.
- Regularly check hubs, hoses, and connections.
- Confirm proper solenoid valve function.
How To Replace 4×4 Actuator F150?
Now, here’s how you can straight-up replace the actuator:
- Pry off the center cap and loosen all lug nuts.
- Lift the vehicle, place a jack stand, and remove lug nuts.
- Choose an approach:
- For ball joint method:
- Remove the cotter pin and loosen the castle nut.
- Separate ball joint and remove it.
- For control arm method
- Remove bolts, slide out the control arm.
- Free upper control arm bolts and remove outer tie rod end.
- Pry off the wheel hub’s dust cap and remove the center nut.
- Gently detach the vacuum and vent line on the actuator.
- Remove three bolts holding the actuator, pull out the knuckle.
- Glide the half shaft out, then remove the actuator.
- Install the new actuator and slide in the half shaft.
- Torque actuator bolts to 9 ft-lbs.
- Re-attach the vacuum and vent line. Install center nut and torque to 20 ft-lbs.
- Re-install the dust cap and then tie rod end, torque to 150 ft-lbs, and use a new cotter pin.
- Re-install upper ball joint or control arm. For control arm, remember to align.
- Put the wheel back, hand-tighten lug nuts.
- Lower the vehicle, tighten lug nuts with a tire iron.
FAQs
When should you consider changing your F150’s 4×4 Actuator?
If engaging or disengaging 4-wheel drive gets tough, you hear strange noises such as Grinding, humming when slowing down or notice inconsistent performance in your F150, that’s when you should think about changing the 4×4 actuator.
Final Thoughts
That’s all you need to do!
While swapping out the 4×4 actuator might seem a bit daunting, I’d say it’s the way to go. Direct replacement ensures reliability and a long-lasting solution.
So if your F150’s 4-wheel drive is acting up, invest in a proper replacement.
Avoid the temptation to bypass, it might seem quick but it could compromise your truck’s overall performance.


