It’s a sinking feeling when you step into your Ford F150 only to find water pooling in the cab. The struggle with water leaks in these trucks is a tale as old as time for many of us.
There are several fixes you can try yourself, though. Keep reading to learn more details about them.
Why Is Water Leaking Into The Passenger Side Of Ford F150?
The water leak in the passenger side cab of an F150 can happen from blocked drains, old seals, or gaps in the body. To fix it, clean out drains, cover holes, change parts like the EVAP core or windshield seal, and make sure door seals are good. If it’s still leaking, get a pro to help with the trickier issues.
Let’s go through the details of all the reasons your F150 passenger floor is wet first.
1. There’s A Hole in the Drain Trough
Sometimes there’s a hole in the drain trough, despite it being covered by a trim piece under the glove box.
This hole likely happens from stuff hitting it or getting bumped. Even though it’s covered, water can still sneak in through it.
The trim is supposed to keep out dust and debris, not necessarily water. So, when water gets in, it ends up on the passenger side because that’s where the trough is.
2. The Evaporator Drain Is Clogged
The drain for the air conditioning system can get clogged over time. It’s usually behind the front left tire.
This happens because dirt, gunk, or mold can build up in the drain tube. When it’s clogged, the water from the AC can’t go out like it’s supposed to.
So, it backs up and finds its way into the passenger side footwell, making things wet inside.
3. Improperly Sealed Windshield Upper Corners
If the windshield’s upper corners aren’t sealed right when the truck is made, water can easily get in.
Over time, the original seal can also weaken due to exposure to elements like sunlight, rain, and temperature changes.
This weakening allows for gaps to form, even if they weren’t there initially.
Water can then easily seep through these gaps and follow the windshield’s edges down the sides of the truck (A-pillars), eventually ending up inside the cabin.
This is why leaks on the passenger side can occur, especially during heavy rain or car washes.
4. Pano Moonroof Drain Issues
If you have one of those fancy panoramic moonroofs, it can also cause leaks.
The drains for these roofs, located along the sides of the truck, can get blocked with junk.
When this happens, water builds up and can overflow into the cabin. That’s why sometimes you find wet carpets on the passenger side.
5. Your F150’s Door Seal Has Worn Out
The rubber seals around the doors can easily wear out over time from frequent use, exposure to the elements, and general wear and tear.
When they’re not sealed properly, water can sneak past them and get into the door. From there, it drips down and ends up on the passenger floorboard.
6. AC System Problems
Leaks occur when the EVAP case cracks or the AC drain isn’t properly connected.
Temperature changes, vibrations, or bumps can cause cracks in the case located inside the dashboard, allowing water from the A/C to leak, particularly when the AC is operating.
The system is designed with drains to channel away this water, but improper connection leads to water accumulation in the passenger foot area.
Also, if the drain becomes obstructed with dirt or mold, water accumulates and eventually spills over into the passenger side footwell, resulting in wet carpets.
If you’re also having issues, such as your F150’s AC not blowing cold enough, there’s a high chance this is the case.
7. Body Seam Leak at Cab/Frunk Seam
Sometimes the seams where the different parts of the truck body come together aren’t sealed perfectly.
Water can sneak in if there’s a gap or the sealant is damaged. The passenger side firewall (the wall between the engine and cabin) is a common place for this.
When water gets in through these gaps, it ends up in the passenger footwell.
8. The Hole Above Left Battery in the Engine Bay Is Plugged
There’s a hole above the left battery in the engine bay that’s supposed to drain water. If this hole gets clogged with leaves or dirt, water can’t drain out properly.
Instead, it can overflow into the passenger side, making things soggy inside the truck. It can, on rare occasions, also collect water after rain.
9. You May Have A Loose Vent Diverting Water
If there’s a loose vent, especially behind the back seats, it can let water in. This is more noticeable when the truck is parked on a slope or if water is running off a cover.
The vent might not be sealed tight enough, so water sneaks in and ends up pooling near the firewall on the passenger side.
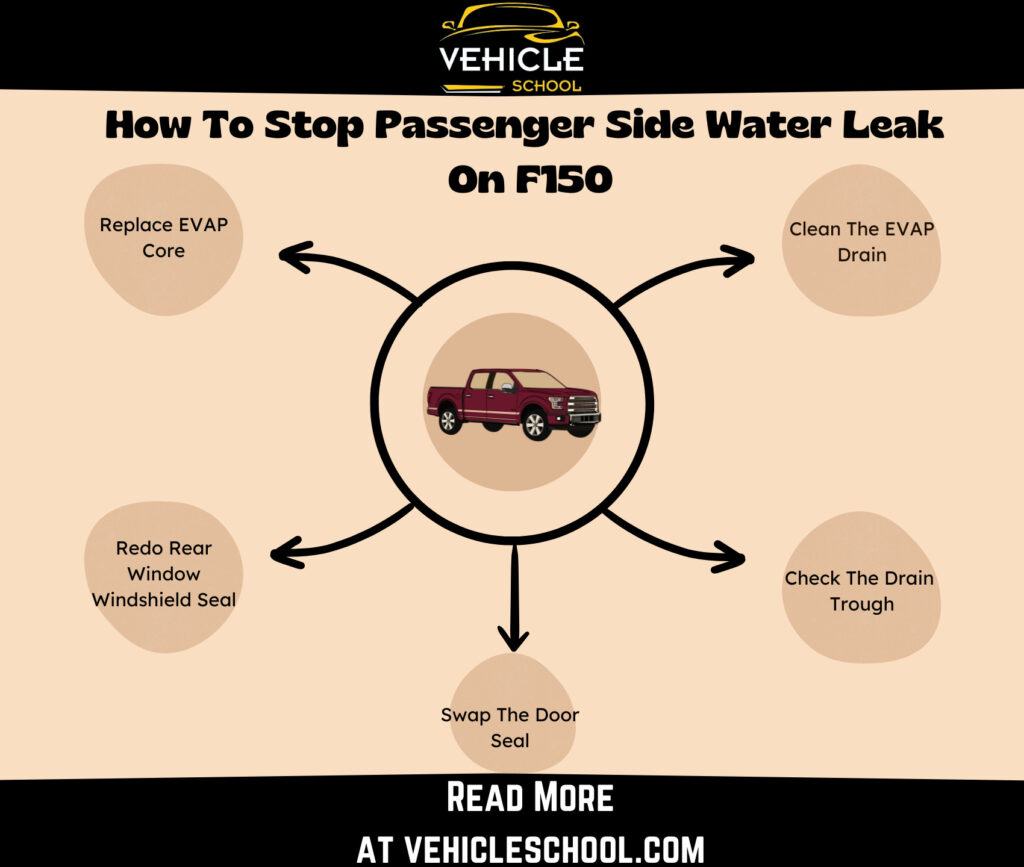
How To Stop The Passenger Side Water Leak On Your F150?
You need to clean up or reseal a lot of areas; you don’t have to get to replacements right away. Let me walk you through all the fixes.
1. Clean The EVAP Drain
You can start by doing some cleaning first. Be careful with this, though, as the EVAP System can still be a hassle to repair if it’s damaged.
Here are some things you’ll need: Foam seal tape, Rubberized undercoating spray, Cleaning brush or pipe cleaner, Bucket or container for drainage.
- Put on rubber gloves and safety goggles.
- Find the drain behind the front side left tire.
- Lift the truck if needed and prop it up.
- Check the drain tube for clogs or gunk.
- Clean it out with a brush or pipe cleaner.
- Cut foam tape and wrap it around the tube tightly.
- Shake the rubberized spray and coat the tube and foam.
- Let it dry completely.
- Test the drain by pouring water into it.
- Lower the truck down if you lift it.
- Toss out the debris and wash your hands after handling the chemicals.
- Start the truck and turn on the AC to check for leaks or odd noises.
2. Check The Drain Trough
- Park your F150 on a flat surface and make sure the area around the glove box is clean.
- Find the hole in the drain trough and clean the area around it.
- Cut a rubber gasket to cover the hole.
- Apply JB Plastic Weld to the gasket and press it firmly over the hole.
- Let it dry overnight.
- Apply JB RTV sealant around the edges of the patch for extra protection.
- Let the sealant cure for a few hours.
- Check the patch to ensure it’s secure and test for leaks by pouring a little water.
- Once satisfied, reassemble any parts removed and put back the trim under the glove box.
3. Replace EVAP Core
If none of that works, something might be up with the AC system. It’s usually the EVAP Case/Core, which you’ll have to replace with a new one. Here’s how to do so:
- Disconnect the battery and make space by moving the seats.
- Remove the dashboard panels, speaker, and loosen the steering wheel.
- Disconnect all wires, including radio connections.
- Take out the bolts holding the dash, even the hidden ones.
- Gently pull out the dash with help, keeping important wires.
- Slide back the passenger seat and clear any obstacles.
- Remove the remaining dash parts and HVAC box bolts.
- Carefully pull out the HVAC box, and check for sticking.
- Drill to access the evaporator core, and replace it.
- Secure the HVAC box with new rivets.
- Reconnect hoses, lines, and wiring.
- Put back the dash and steering wheel parts.
- Replace any seats and connect the battery.
- Test the air conditioner for leaks or issues.
4. Redo The Rear Window Windshield Seal
This one may seem challenging, but it’s easier than you’d expect – you can take the window off without even needing to remove the track cables on it.
- Lift the back seat and remove the headrest.
- Fold down the back seat.
- Lift the panels to expose underneath, remove the clips and tabs, and pop out the side panels.
- Remove the clips holding the rear carpet and pull out the carpet.
- Use a 9mm socket to unscrew the bolts holding the rear windshield, and if needed, loosen the brace.
- Gently remove the defrost wires.
- Have someone push the windshield from inside while prying it out with a pry bar from outside.
- Clean off old sealant and debris from the truck and glass with soap and water.
- Start at the bottom, peel the backing off the new weather seal, and press it into the groove around the window.
- Align the studs on the windshield with the holes and push it into place.
- Hand-tighten the bolts, then fully tighten them, ensuring the windshield is secure.
- Test for leaks by spraying water on the windshield, ensuring water stays outside.
- Let the truck dry thoroughly and check for any remaining moisture under the carpet.
- Reassemble everything.
For a more detailed fix, you can take a look at a video of this process:
5. Swap The Door Seal
- Take off the metal strip at the bottom of the door by pulling it up.
- Use something to pry up and peel off the old rubber seal around the door.
- Start putting the new rubber seal in the middle where the old one was. Make sure it’s at the bottom so water doesn’t leak in.
- Slide the new seal over the edge and press it down firmly.
- Keep pressing it down all the way around the door.
- When you reach the end, make sure it lines up right.
- Lift the other side of the seal and get them both close, then press them both down together to make sure they fit perfectly.
- The new seal should be the right size for the door, so you shouldn’t need to cut it if you got the right one.
- Put the metal strip back on at the bottom of the door.
This works for all doors, not just the driver’s side one.
6. Other Ways To Fix
If you’ve tried everything and haven’t succeeded in fixing the issue yet, you can try the following:
- Look under the hood on the left side for a small hole covered in dirt or grime. Clearing this hole should allow any trapped water to escape.
- If that doesn’t do the trick, the issue might be a leak near the front trunk (frunk). This type of leak often requires a professional to fix it. They’ll need to work on the firewall, dash, and other parts to get it sorted out.
- Loose vents could also be causing the problem. You’ll need a mechanic to tighten them up properly.
FAQs
Has Ford ever made a water leak recall for the Ford F150?
No, there weren’t any. However, there was a TSB for 2018 F150s. This isn’t an issue with newer F150s.
Final Thoughts
So, with everything sorted out, you shouldn’t have water sloshing around inside your truck anytime soon.
Ford trucks are pretty sturdy, especially when it comes to handling heavy-duty tasks head-on. But when it comes to everyday stuff like leaks, they might not offer the best protection.
And there’s even a chance I haven’t covered all the possible leaks here.
If that’s the case, you’ll need to get a technician to look into every nook and cranny of your truck.