You’re enjoying your ride, and all of a sudden your F150’s wrench light starts glowing—even worse, the truck seems like it’s slowing to a crawl. There’s barely any acceleration, if any at all.
The Wrench Light No Acceleration issue in F150 is caused by a bad throttle body, bad battery, bad spark plugs or some build issues. Sometimes, it can also be a faulty PCM.
Keep reading, I’ll share more on these issues in this guide.
Why Ford F150 Shows Wrench Light And Doesn’t Accelerate Then Shuts Off?
Now, let’s dig into why this actually happens.
1. Faulty Throttle Body
The Output Shaft Speed (OSS) sensor in the throttle body’s lead frame is essential for controlling the F150’s throttle.
This sensor measures the throttle plate’s rotation. In EcoBoost engines, rapid changes in temperature and pressure from the turbocharger can damage the sensor’s internal parts.
These small cracks cause the sensor to send incorrect signals to the Powertrain Control Module (PCM), which sees this as a problem with the throttle position.
To prevent damage, the PCM reduces the throttle opening to about 15%, turns on the wrench light, and cuts down acceleration drastically.
2. Engine Potentially Built With Bad Cylinder
Some 2016-2017 F-150s with 2.7L EcoBoost engines have defective cylinder head valve guides due to a manufacturing error.
These bad valve guides let too much oil into the combustion chambers, causing the engine to burn oil too quickly, misfire, idle roughly, and produce blue smoke from the exhaust when hot.
The PCM detects these problems and enters a protective mode, turning on the wrench light and limiting engine performance. This protection mode restricts fuel injection and throttle response, reducing acceleration until the valve guides are fixed.
3. Low Voltage or Problems with Throttle or Spark Plugs
The PCM in the F150 needs a stable voltage between 12.6V and 14.4V to function properly.
If the voltage drops below 12V due to a weak alternator or battery, the PCM goes into a low-power mode to protect itself.
In this state, it can’t control the fuel injection or ignition timing accurately, causing misfires or incomplete combustion.
Similarly, if the throttle position sensor or spark plug circuits send unstable signals, the PCM activates the F150 limp mode to avoid engine damage. This mode uses a basic fuel and ignition setting, and greatly reduces acceleration.
4. Bad PCM or ECM in General
The PCM/ECM controls many engine functions and operates in tough conditions, like extreme temperatures and vibrations.
These conditions can damage the PCM’s components, causing it to misread sensor data or make control errors.
For example, it might miscalculate airflow, affecting fuel delivery. When the PCM detects internal problems or unusual results, it switches to a basic mode to protect the engine.
This mode limits ignition timing, fuel injection, and throttle opening, turns on the wrench light, and significantly reduces acceleration—sometimes it might even feel like your ford f150 has no acceleration. In that case, the issue’s gotten even worse.
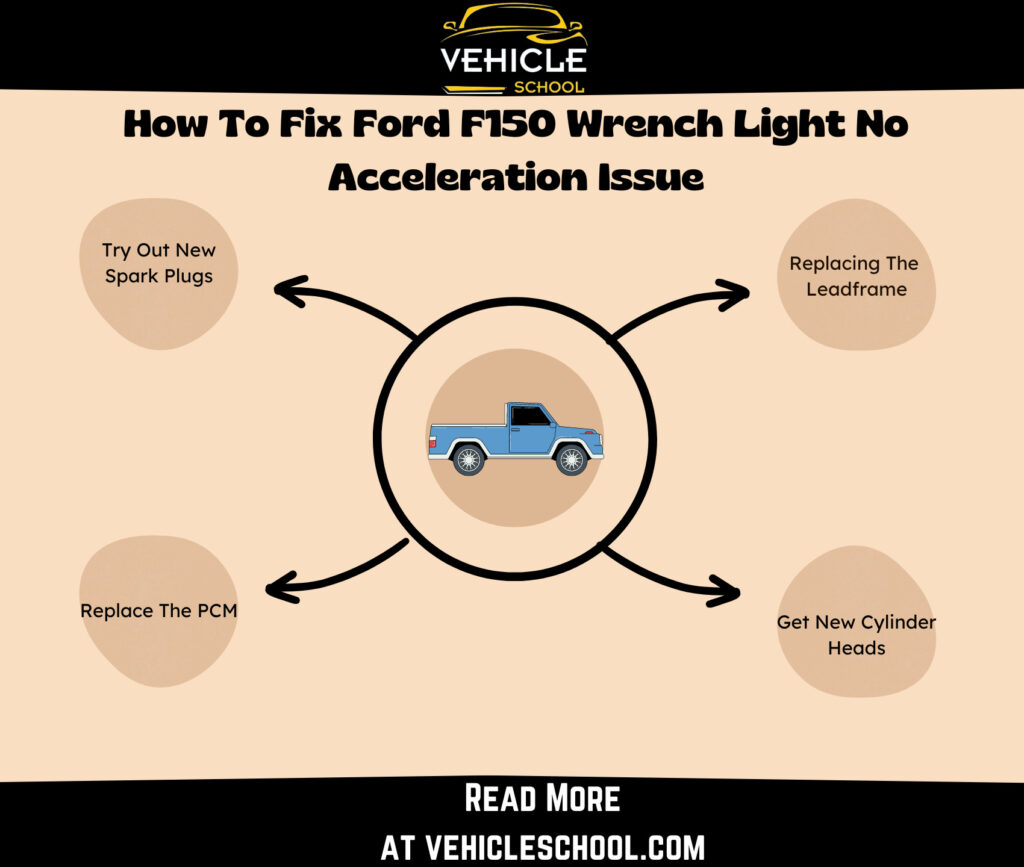
How To Fix Ford F150 Wrench Light No Acceleration Issue?
Look at your battery first—it’s not going to be an issue this time, but better to check it off since there’s still a small chance. If it seems fine, then you might have to replace leadframe, cylinder heads, spark plugs or even your PCM.
Let’s dig deeper into the fixes.
1. Replacing The Leadframe
Try checking in with your dealer first. This part is usually covered by Ford’s extended warranty.
Swapping out the molded leadframe by yourself is easy enough but takes time. Refer to the video at the end for more details.
You’ll need a 3/4 or 19mm socket, long-reach flex head 3/8 drive ratchet, 6-inch extension, wobble 8mm socket, impact driver, Torx 27 and 30 sockets, and a drain pan.
To replace the leadframe:
- Lift and secure the truck.
- Remove the transmission fill plug.
- Drain the fluid by removing transmission pan bolts from back to front.
- Remove the pan and filter.
- Disconnect the bulkhead connector.
- Align the manual valve with the manual lever.
- Remove the valve body’s Torx 30 and 27 screws.
- Lower the valve body.
- Remove the leadframe’s six Torx 27 screws and lift it off.
- Install the new leadframe with the foam sleeve. Secure it with six Torx 27 screws tightened to 62 inch-pounds.
- Reattach the valve body, tightening bolts in a zigzag pattern to 71 inch-pounds.
- Reconnect the bulkhead connector.
- Clean and replace the gasket, then reattach the pan, tightening bolts evenly.
- Refill with Mercon LV fluid.
- With the engine running in park, check the fluid level.
Make sure there are no error codes, test drive, recheck the fluid, and check for leaks.
Fix Video:
| These steps are for 6R80 transmissions, but I’ve applied similar repairs to newer models like the 10R60, 10R80, and 10R140 as well. These procedures aren’t limited to Ford F-Series trucks—they also apply to vehicles such as the Ford Expedition and Mustang. |
2. Get New Cylinder Heads
You should try this fix if you see blue smoke coming out of your engine after it’s been running for a while, along with the check engine light on. You’ll need to replace both cylinder heads.
And of course, this will only work if you have the same year F150 I mentioned. For more details on how to replace and fix it, check out this TSB.
3. Try Out New Spark Plugs
Here are some quick steps to get your spark plugs replaced.
- Find the coil packs below on the driver’s side.
- Remove coil pack bolts with an 8mm socket.
- Disconnect electrical connectors from coil packs.
- Lift out coil packs to access spark plugs.
- Use a 5/8 socket to remove old spark plugs.
- Check and torque new spark plugs to 12 ft-lbs.
- Apply dielectric grease to coil boot ends.
- Reconnect electrical connectors to coil packs.
- Secure coil packs with 8mm bolts.
- Apply anti-seize and paint bolt heads.
- Consider adding Mustang-style coil covers for better protection and looks.
4. Replace The PCM
Though the PCM is one of the most vital parts of your F150, you can actually replace it fairly easily.
Here’s a gist of the steps:
- Disconnect the negative (black) cable from the battery.
- Find the PCM behind the driver’s kick panel and write down its numbers.
- Look up the PCM numbers online or in your owner’s manual to make sure it matches.
- Buy the new PCM based on your research and compare it with the old one before installing.
- Update the software if needed before carefully removing the old PCM.
- Install the new PCM where the old one was.
- Reconnect the battery in reverse order and start your truck after you’re done.
Final Thoughts
After you’ve tried all the fixes, your pedal’s going to go back to listening to you again. So you won’t end up being randomly stuck on the road—the acceleration’s going to be perfectly fine.
Worst case scenario? You might have to shell out $200, but that’s very unlikely.