If your F150 AC isn’t cooling, it could be due to Freon leaks, condenser or compressor issues, dirty coils, or a wonky blend door actuator.
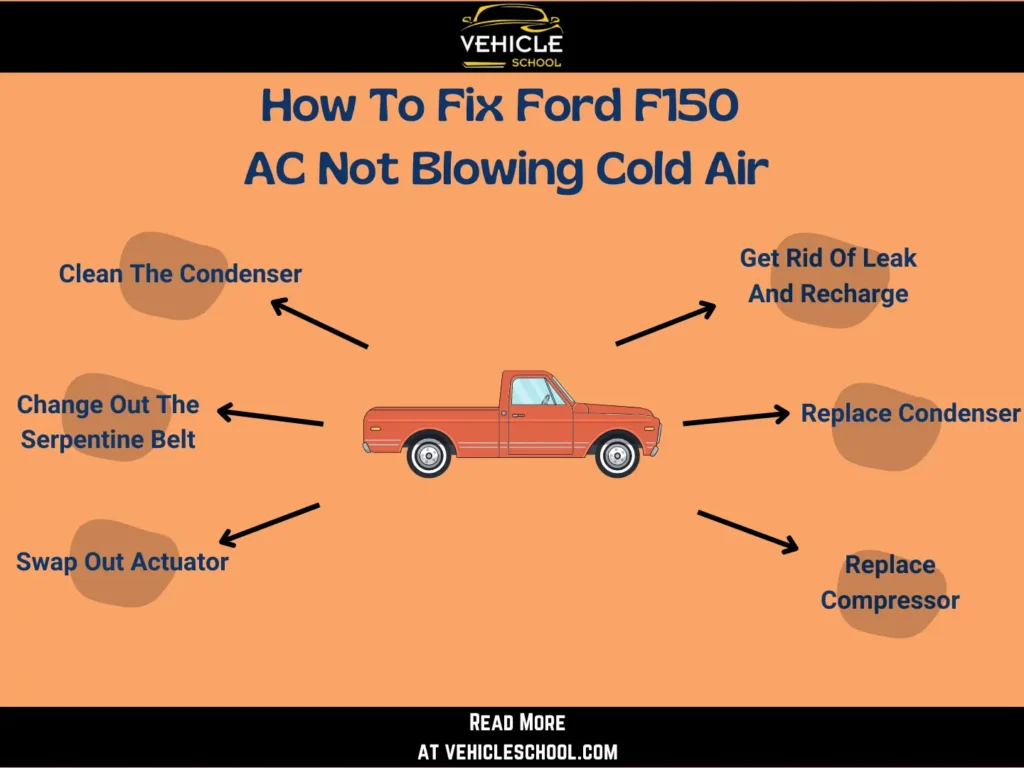
It’s possible to fix it by sealing leaks and recharging, replacing a bad condenser or compressor, cleaning or changing the serpentine belt, or swapping out a malfunctioning blend door actuator.
Continue reading my guide to learn more details about fixing your F150 AC and getting that cool breeze back on the road.
Why Does My Ford F150 AC Not Blow Cold Air?
Let’s dive into the reasons behind this issue:
1. Freon Leaks
Freon leaks often happen when seals wear out or connections degrade.
Over time, refrigerant escapes, leading to lower levels.
This makes the system struggle to cool, resulting in warmer air from the AC vents.
2. Condenser Drier Assembly Leaks
The condenser drier assembly can leak due to corrosion, physical damage, or manufacturing defects.
This part is important for removing moisture and filtering contaminants. A leak messes with pressure regulation and cooling efficiency, causing a decline in overall cooling performance.
Because of this, you may also find water leaking into the passenger side of your f150.
3. Dirty Condenser Coil
A dirty condenser coil messes with the heat exchange process.
Accumulated dirt on the coil hinders heat dissipation, making the system struggle to cool the refrigerant efficiently.
This means the AC doesn’t work as well, and you get warmer air.
4. Faulty Compressor
Faults in the F-150’s AC compressor, like a malfunctioning swash plate, solenoid short circuits (common in 3.5L EcoBoosts), or melted pulleys/clutches from stress and heat, hinder proper refrigerant pressurization.
These issues stop the compressor from working well, making the AC system fail to blow cold air.
5. Belt-Related Issues
A snapped serpentine belt can stop the compressor from working. Belts wear out over time and might break from being too old or stretched out.
Without a working belt, the compressor can’t circulate refrigerant, and your truck’s AC system can’t give you cool air.
6. Blend Door Actuator Malfunction
Blend door actuators manage how much hot or cold air comes out of your vents. When these actuators malfunction, you end up with air that’s warmer than you’d like.
This might be because of things breaking inside or electrical troubles with the actuator system. You can try to perform my ford f150 blend door quick fix before going all technical on it.
You may also notice the Ford F150 heater blowing cold air if the blend door actuator has malfunctioned.
How To Fix Ford F150 AC Not Blowing Cold Air?
I’ll walk you through step-by-step solutions to get your Ford F150’s AC blowing cold air again.
1. Get Rid Of Leak And Recharge
It’s best if you do both when dealing with a Freon leak: fill up the lost refrigerant.
Sealing The Leak
- Use a leak detector or UV dye to locate the Freon leak.
- Check for wear, cracks, or damage in seals and connections.
- Tighten loose connections and replace damaged seals.
- Replace damaged O-rings in AC system connections.
- Use an AC system sealer for small, accessible leaks per product instructions.
Recharging Refrigerant
Now, it’s time for a recharge.
| Note: DIY refrigerant recharge is tricky. If you can’t get a mechanic, do some serious research first. You need to consider everything from the year to engine size. Messing up could be bad news. Make sure you understand what you’re doing, use safety gear, and follow instructions to a T. The below instructions are only a summary of the process. |
- Identify and remove the low-pressure port cap.
- Attach a refrigerant can to the hose, connect to a low-pressure port.
- Pierce the can, start the vehicle, set AC to max with vents open.
- Turn the can upside down, slowly release the knob.
- Monitor pressure gauge; recharge if below 45 psi, fill to around 55 psi.
- Check for temperature improvement inside the vehicle.
- Add cans as needed, using the gauge to avoid overcharging.
- Turn off the vehicle, close the knob, and disconnect the hose.
- Replace the valve cap and any removed components.
2. Clean The Condenser
- Grab condenser cleaner, water, eye protection, and a spray bottle.
- Lift F150 front and get the grill off.
- Mix cleaner with water (4:1 ratio).
- Spray the mix on the condenser fins.
- Let it sit for 10 minutes; it’ll foam up.
- Rinse the condenser; don’t bend the fins.
- Start the truck, turn the AC on and check the vent temperature with a thermometer.
- Reattach the grill once you’re happy.
| Note: Once you’re done, use gauges to check high and low side pressures. If high-side pressure drops, it’s working better. While you’re at it, remember to stick to one spray bottle for cleaning and avoid mixing chemicals. Rinse gently; skip high-pressure sprays. Be mindful of paint and driveways, as well. |
3. Replace Condenser
If the earlier steps didn’t work, you might need to go for a full-on replacement.
Before you begin, make sure a tech has safely discharged the AC system and the engine’s chill. Pop on some eye protection, as well.
- Remove the grille and air filter.
- Disconnect cooling fans and remove deflectors.
- Lift out the shroud.
- Secure the transmission cooler.
- Disconnect refrigerant lines from the condenser.
- Tilt and remove the radiator.
- Take out condenser mounting bolts.
- Lift condenser from the vehicle.
- Add refrigerant oil if installing a new condenser.
- Install new O-rings in line fittings.
- Tighten condenser nuts securely.
- Ensure condenser tabs are seated in radiator brackets.
- Follow the removal steps in reverse and swap in the new condenser.
- Have a pro evacuate, recharge, and test the system.
4. Replace Compressor
- Disconnect battery and remove drive belts.
- Lift front, remove wheel, skid plates, and turbo inlet if needed.
- Disconnect the compressor clutch, replace O-rings on lines, and remove compressor.
- Drain oil, transfer the clutch, and install a new compressor with bolts.
- Replace manifold O-rings, use refrigerant oil, and reconnect electrical and lines.
- Put back wheel and inner shield if removed, then lower the vehicle.
- Reinstall drive belts and reconnect batteries, ensuring secure connections.
- Get a recharge.
- Start and test the truck’s AC.
5. Change Out The Serpentine Belt
This one is rarer, so I’ll be a little more detailed. I’ve had to replace the serpentine belt in an F150 5.4L before to fix the AC.
- Loosen the intake tube clamps and remove the entire intake assembly.
- Locate the tensioner near the belt with a 1/2-inch drive.
- Use a 1/2-inch drive ratchet to pull down on the tensioner.
- Remove the old serpentine belt.
- Take note of the belt routing or take a picture for reference.
- Install the new belt, starting at the harmonic balancer and working from bottom to top.
- Route the belt around the water pump, AC compressor, idler, tensioner, power steering, and alternator.
- Use a tool to apply tension and ensure proper seating on all pulleys.
- Reconnect the intake tube, ensuring it is properly seated to avoid air leaks.
- Tighten the clamps on both ends of the intake tube.
- Inspect the belt to ensure proper seating on all pulleys.
- Start the engine and run it briefly, then reinspect the belt.
- Secure all clamps and complete the reassembly.
- Check and see if the AC works now.
6. Swap Out Actuator
- Take off the panels to reach the actuator.
- Check and note any damage to the gears.
- Swap out the broken gear with a new one.
- Put everything back together, ensuring the gears align, and tighten the screws securely.
- Test the actuator to make sure it moves smoothly.
- If you’re replacing the entire actuator, disconnect and inspect the old one.
- Remove the old actuator, put the new one in place, and secure it properly.
- Reconnect the wiring and reinstall any parts you removed.
- Test the HVAC system thoroughly.
FAQs
How Do You Reset The Air Conditioner On A Ford F-150?
To reset your F150’s AC, try disconnecting the battery or pulling fuse 17 in the battery junction box. If you replaced the HVAC module, use a dealer-level scan tool to reprogram. You can also try a quick reset: with the truck on and doors closed, hold down the power and defrost buttons, then press the climate control button.
Final Thoughts
Your F150 will be back to delivering icy-cool air after you perform these fixes. But keep in mind that DIY AC work can be dicey, so approach it carefully to avoid wallet-draining mishaps.