The F150’s check 4×4 message and wrench light might pop up due to glitches in the electrical shift motor, range sensor, or transfer case. If there are wiring issues or corrosion, fix them. Check and secure the shift motor, replace it if needed, and address any range sensor problems. As a last resort, consider swapping out the transfer case.
I’ve discussed all the fixes with detailed steps in this post, so stay around if you’re planning on performing these by yourself.
What Does “Check 4×4 with Wrench Light” Message Mean In F150?
Let’s understand the causes of the “Check 4×4 with Wrench Symbol” message first:
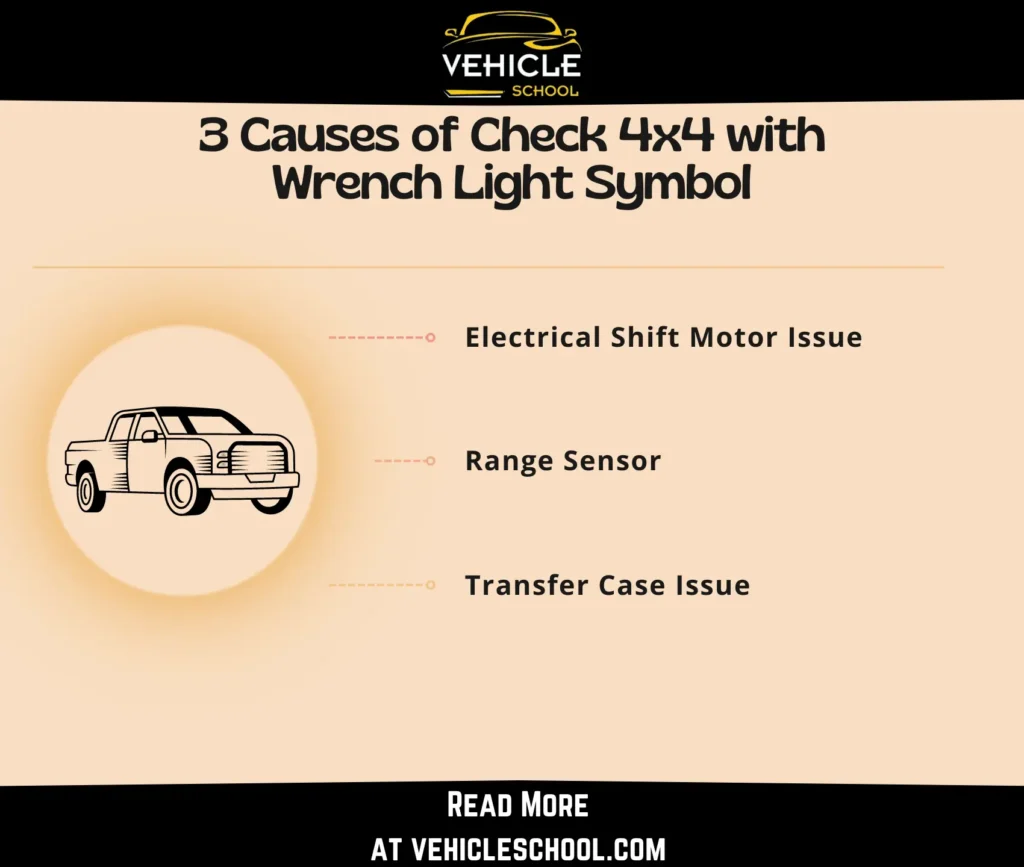
1. Electrical Shift Motor Issue
The electrical shift motor is like the control center for your 4×4 system; it’s in charge of deciding whether your vehicle should use all-wheel drive or just stick to regular two-wheel drive.
If the motor has problems, especially with its wiring, it might get confused and keep your car stuck in 4×4 mode or prevent it from going into 4×4 altogether.
2. Range Sensor
The range sensor wheel is vital for relaying the transfer case’s position to the vehicle’s computer, but it can develop flash corrosion on its internal contact plate due to environmental factors.
Corrosion disrupts electrical signals, causing inaccurate readings of the transfer case’s position.
This can lead to problems in the 4×4 system’s proper engagement or disengagement, along with the Check 4×4 and Wrench Light alerts.
3. Transfer Case Issue
The transfer case is like the middleman that splits power between the front and rear axles, letting you pick different driving setups for different terrains.
But if things go south, such as fluid leaks or mechanical issues, the 4×4 system won’t kick in properly, and the warning message will pop up.
How To Fix Check 4×4 and The Wrench Light Warning
I’ll go through all the things you can do first to fix the issue without getting a replacement.
1. Check Motor Wiring
- Check for cut wires or loose connections.
- Mark damaged wire sections and decide if splicing is possible.
- Gather these tools: wire splicers, electrical tape, and caps.
- Cut damaged wire parts and strip ends for splicing.
- Splice wires, secure with caps, and wrap with electrical tape.
- Ensure all connections are secure and free from exposed wires.
- Reassemble any removed components securely.
- Test the electrical shift motor and confirm the 4×4 system functions properly.
2. Make Sure The Ceramic Disc Adhesive Is On
- Take apart the shift motor to access the ceramic disc and hub.
- Check for damage or wear; clean surfaces as needed.
- Use strong adhesive for ceramic-to-metal bonding.
- Apply adhesive and reattach the ceramic disc evenly.
- Follow adhesive instructions for curing time.
- Ensure all parts are secure during reassembly.
- Test the shift motor for secure attachment and smooth operation.
- Monitor the 4×4 system for errors.
- Engage and disengage the 4×4 system to check if it functions correctly.
3. Replace The Motor Itself
- Unplug the shift motor harness and disconnect the wires carefully.
- Use tools to remove the bolts attaching the shift motor to the transfer case.
- Clean the transfer case surface with Scotch-Brite, then apply a light sealant coating.
- Install the new shift motor, aligning the splines and securing it with bolts.
- Torque the bolts to 89 inch-pounds.
- Reattach the bracket using a bolt and two nuts, also torqued to 89 inch-pounds.
- Connect the new shift motor pigtail to the synchro wire and secure it with a retainer.
- Verify torque and wiring and clear codes with a scan tool.
- Conduct a test drive to ensure proper shifting of 2WD and 4WD modes.
4. Fix The Range Sensor
Check your truck for codes; if you find the P1867 code, then this fix might work for you:
- Find the gray sensor wheel.
- Use a Torx driver to remove it and pull it away.
- Rotate the half-circle shaft in both directions to clean and redistribute grease.
- Reinsert the sensor wheel and align the screws using the original marks.
- Engage four-wheel drive in the truck.
- Clear the P1867 code and others with a scanner or by disconnecting the battery.
- Ensure no old codes remain.
- Check for proper four-wheel-drive operation.
5. Replace The Transfer Case
This is the most expensive and complicated fix, so do it by the end if the others don’t work.
Keep in mind that this is only a quick rundown; you’d be better off using it as a reference and watching a video for the process while you’re at it.
You can also refer to your truck’s service manual.
- Disconnect your F150’s battery.
- Secure the truck on jack stands.
- Disconnect wiring from the transfer case shift motor.
- Drain fluid by removing plugs.
- Unbolt and remove the rear and front drive shafts.
- Remove the skid plate with four 10mm bolts (if you have one).
- Unhook transfer case wire harness.
- Remove six 13mm bolts securing the transfer case.
- Wheel out transfer case using a floor jack.
- Clean mating surfaces.
- Raise the new transfer case with a floor jack.
- Reinstall six 13-mm bolts and torque to 37 ft. lbs.
- Replace the skid plate.
- Reinstall drive shafts and align them properly.
- Refill the transfer case, reconnect battery, and test.
Wrapping Up
Follow these steps, and I guarantee you won’t be seeing that message in your F150 anymore.
So, what’re you waiting for?
Time to roll up your sleeves and grab the tools; you’ll be back to enjoying a smooth ride soon enough.
